This is the first step of setting up your own Homelab, we will install a hypervisor. This is a pretty straightforward setup, as mentioned, I will use VMware. Through my university, we are given a license key but if you are not a student or do not have a student discount, it was cost you around $200. With a student discount, it should be around $120. You may also use VirtualBox, but I do not really have experience with this hypervisor but it should be similar.
What is a Hypervisor?
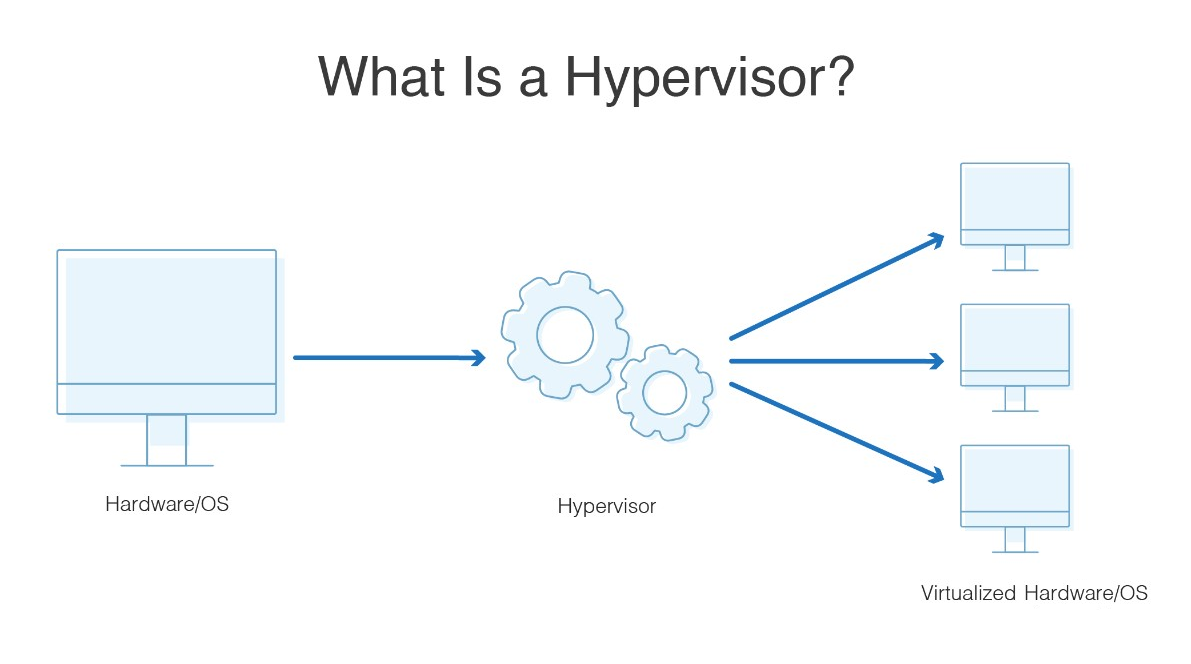
I have often used the phrase "hypervisor" throughout these write-ups, but what actually is a hypervisor? VMware themselves define a hypervisor as:
"A hypervisor, also known as a virtual machine monitor or VMM, is software that creates and runs virtual machines (VMs). A hypervisor allows one host computer to support multiple guest VMs by virtually sharing its resources, such as memory and processing."
Simply put, a hypervisor allows you to run virtual machines or VMs on your host computer. I like to think of it just as a computer that is running another computer.

https://www.nutanix.com/info/hypervisor
Installing VMware Workstation Pro/Fusion
VMware can be run on either Windows, Linux, or MacOS. Ideally, you'll want to have 16 GB of RAM to support all of your machines, 8 GB can also work but you may run into issues when running all of the machines at once.
Navigate to VMware Website
Navigate to the VMware website and select the Products tab.

Selecting Download & Downloading
After clicking on the Products option, you will be met with the menu of Desktop Hypervisor. Choose Fusion for Mac and Workstation Player/Pro for Linux or Windows.
Note: Pro version is not needed, but is highly recommended if you can get your hands on a license.

This is the selection for when your host is Windows or Linux, you can just press the "Download For Free" and begin the download.
Note: A Host is a system that you are using regularly, for example: if you are using a MacBook your host will be MacOS, if your computer is a Windows computer (these come in all types of shapes and sizes, some examples are Acer, Asus, and MSI) you will be on a Windows host.

Here is the selection if you are on a MacOS host. If you slightly scroll down, you will see a box that says "Use for Free with a Personal License".

After scrolling, you will see the "Register To Get Your Key Now" prompt. Follow the steps to register so that you may begin the download. It is a pretty straightforward setup where you will be guided to creating an account and then downloading the software.

Installation of VMware
I will not be guiding for each and every step of the installation, but it is like nearly every other install of the software. Click here and there, agree to the terms and conditions, etc. It is simple and you should be able to get through it with ease, but if you run into any issues do not panic. There are many resources to help (google, youtube, guides).
Below will be a link and video to Cyberwox's step-by-step guide on how to go through this process.
https://www.youtube.com/watch?v=gp5eXjWZUBk&t=410s
Wrap-Up
Congratulations! You've just taken the first steps into creating your own cybersecurity homelab. These initial setup steps may seem a little boring but they are all valuable experiences. You should now have your hypervisor up and running and ready to load some VMs. Next, we will be installing and configuring PFsense, our firewall.
